I finished his back in a similar way to the chest, though I made sure to give him more refined shoulder blades.
For the legs I used the spline line tool to draw out his leg shape from both the front and side views, positioning them afterwards to make it look right.
Working up the leg and to the hips, I had to use the 'Relax' tool in the Paint Deformation box a lot. Lining the hips up with the bottom of the stomach perfectly was the hardest part, but the 'Snap' tool helped a lot.
I made his buttocks using the same method I used for the front, though I had to define a crack in the middle.
I may need to go back and re-shape the legs in the future to make them fatter, but I will see how they look when the first version of the model is completed.
I tried to avoid using too many faces on the feet, as I didn't want to over-complicate the topology there.
Connecting the legs to the boots involved transforming some quads to triangles, whilst still keeping the shape of the leg consistent.
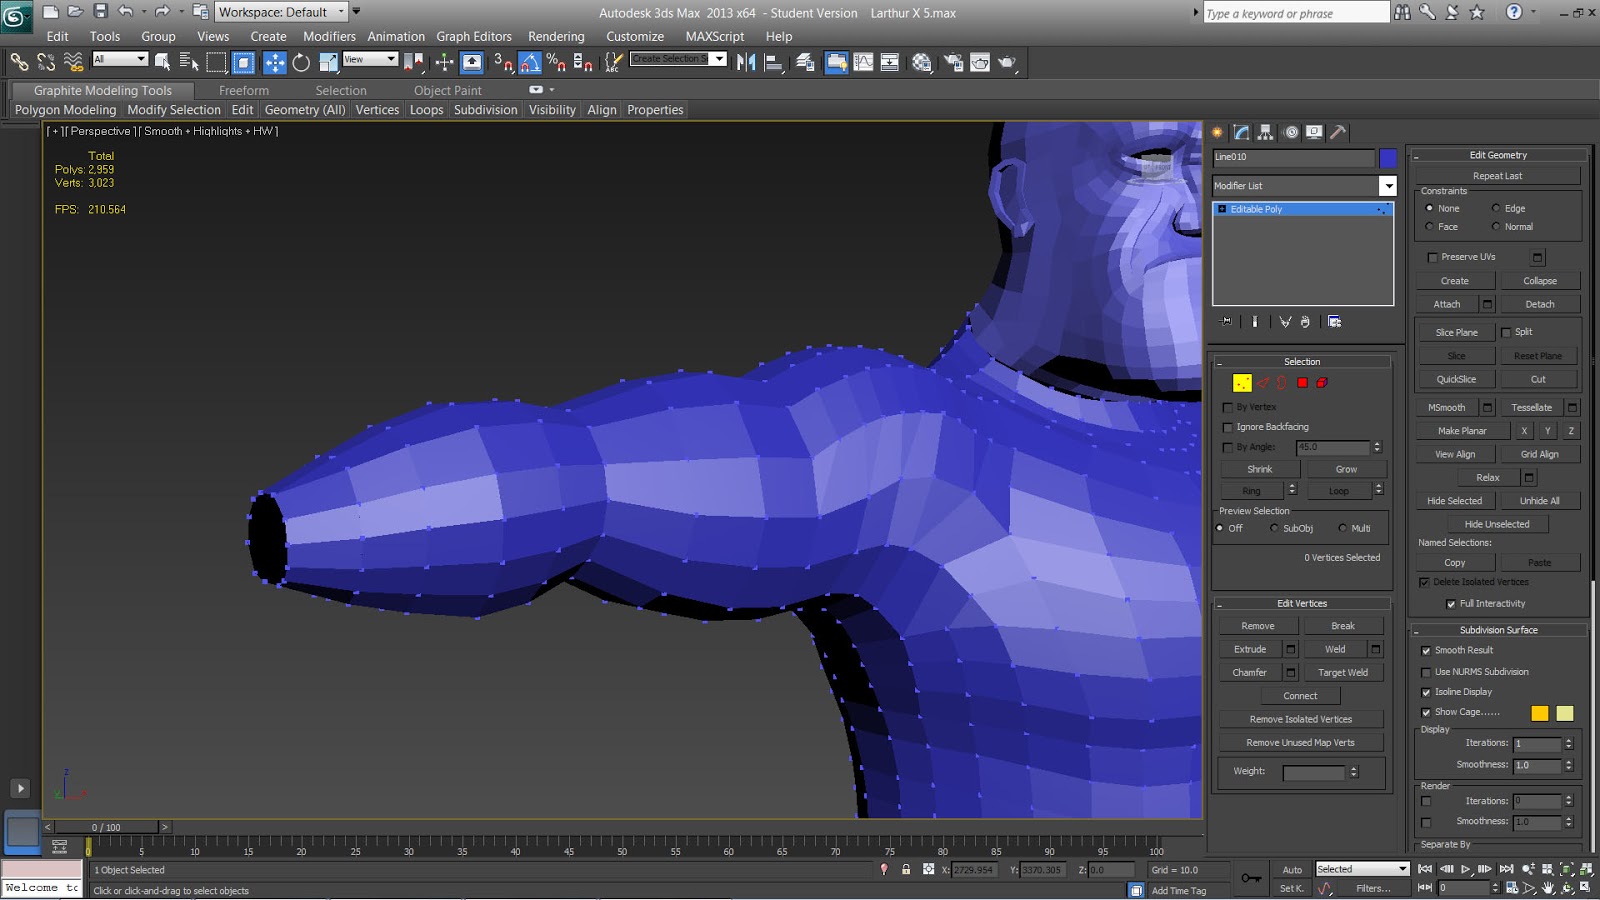
The forearm was done exactly the same way as the upper arm, by drawing lines on the front view and bridging them together.


No comments:
Post a Comment